
Windows spotlight lock screen is a feature included by default in Windows 10 that downloads pictures and advertisements automatically from Bing and displays them when the lock screen is being shown on a computer running Windows 10 if enabled. Windows spotlight photos are getting lot of attention this days.
Users are occasionally given an opportunity to mark whether they wish to see more or fewer images of a similar type, and sometimes the images are overlaid with links to advertisements.
For most of the images, no information or credits are available, but some do display information about where the picture was taken. Many are of well-known locations, or famous historical or natural landmarks and therefore can be identified. Identified images includes places, countries and images of well-known photographers.

The Spotlight Lock Screen Images looks so beautiful on a high-resolution display. The problem is that if you want to download these images for local use, want to use these images for desktop background; its tricky to find these images in your computer. Windows spotlight images stored hidden in your hard drive in a specific folder.
In this article, I’ll show you where to find Windows spotlight images in your Windows 10 computer for local use, which you can then feed to the slideshow option for your desktop wallpaper.
Video Instructions # Windows 10 Spotlight Image Location

If you don’t want video instructions or need more instructions about the method, then continue reading.
Windows Spotlight Lock Screen Images Location
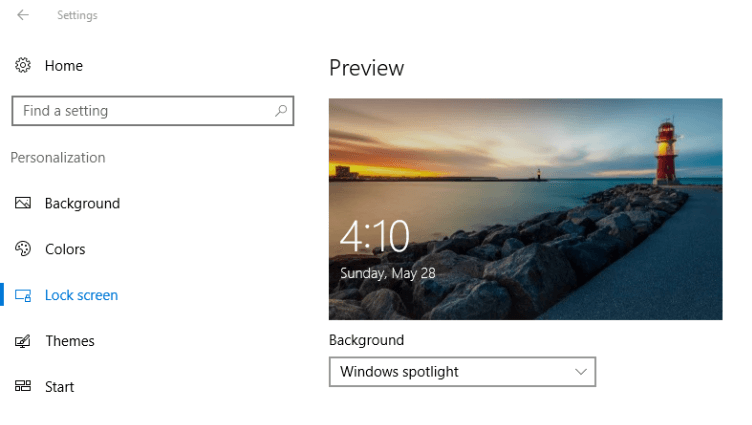
If you’re not sure what Windows Spotlight is or if it’s not enabled on your computer, you can turn it on in Settings dialog of your Windows 10 PC. To turn this on, open the following location –
Start > Settings > Personalization > Lock screen > Background > Windows spotlight

Now you have to visible hidden folders because these spotlight images stored in a hidden location.
To do this, you’ll need to open Windows Explorer and click on the upper “View” tab. And then check the “Hidden items” checkbox to view hidden items.


After doing this, open the following location of your computer to find your spotlight images.
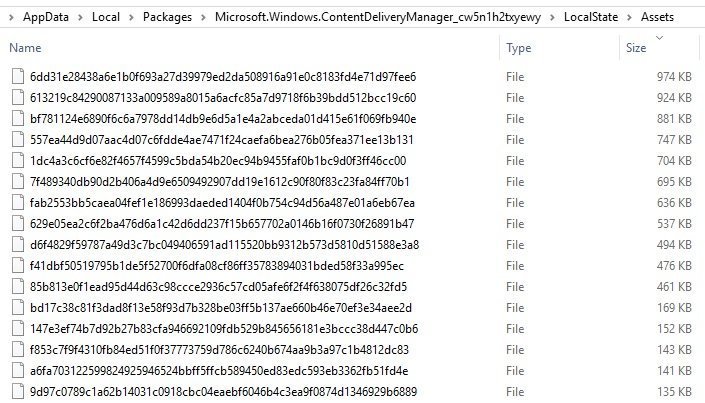
C: > Users > Current User** > AppData > Local > Packages > Microsoft.Windows.ContentDeliveryManager_cw5n1h2txyewy > LocalState > Assets
** “Current User” indicates the username in which user account you have turned on Windows spotlight images.
In the Assets folder, you will see files like the image, but all files are not the spotlight images. Order the folder files by file size, then Copy (hit Ctrl + C to copy) large files (larger than 200kb) from the folder.

Now Paste (hit Ctrl + V to paste) your copied files into an empty folder, one that you can easily find again
You cannot preview or use these files although these are image files, because these files have no file extensions. You have to add .jpeg file extension to preview or use these pictures.
You can do this one by one, just rename the files with adding .jpeg to the end of the files. Time matters? You can use Windows Command Prompt to add .jpeg extension at once for all the files.
Bulk Rename Files, Folders and Change Extension in Windows
To add .jpeg extension for all the files at once, open the folder having the files and open Windows Command Prompt (hit Alt + D and type cmd and then hit Enter to open command window) for the folder.
Now type the following in it and hit Enter to add .jpeg extension for all the files.
ren * *.jpeg
After this action, all the files should be end with .jpeg extension. Now you can preview the images that have recently cycled through Windows spotlight system. Keep the image files you like and delete others away!
Final Thoughts
Spotlight images are pulled from Bing and cycle periodically. Spotlight wallpapers change often and it doesn’t keep a record of every single image ever shown. You will see a new set of images after a week or two.
When you see newer images, you can collect them by repeating this procedure.
That’s about all there is to it. It’s not the simplest procedure by any means, but it’s not risky and it’s fairly straight-forward. Please comment us what you think about the procedure.
Very helpful article. Thanks
It Works… Thank You…
You are totally boss. Worked perfectly. Thank you.
Happy to help You. Thanks
You were extremely helpful and I only wish other online tutorials could be as clear and friendly as yours. Thank you very much.
Off topic: What’s the app in the video you are using to get Explorer tabs and bookmark folders ?
It’s Clover. You can get this apps from the link: en.ejie.me
This helps to see only the screensaver that is being used now. But the screensaver gets changed and how can i see the old ones that were there?! Are they not traceable now??
there were few screensavers which were so beatiful which i wish to retain. let me know.
You will find 10-15 images that was previously shown or will show later. You may find previous one if you are lucky! No other way to find these images. Thanks
You’re a genius! Your instructions are flawless. May I ask your recommendation for video tutorial software? I need to make a couple simple ones for work… Thank you!
You can use Camtasia Studio Editor. It is best! Thanks
Thank you so much, bro… Take care your self.
Thanks ,it’s working very good
Thanks again
Really helpful, thank you